Sunday, May 22, 2016

Event driven GPIO with Python on UDOO

In the previous post, a shell script was used to read periodically on a GPIO pin for input.  That could be inefficient and in the worst case missing the input completely.


Using the same hardware design as in previous post, we can change the software part to a more efficient event driven approach.  First, setup the GPIO pin (GPIO 42 in this example) as input:

echo 42 > /sys/class/gpio/export
echo in > /sys/class/gpio/gpio42/direction
echo falling > /sys/class/gpio/gpio42/edge

Note that on UDOO, GPIO pins can be set to trigger interrupt when the value change.  Here, we set the "edge" as "falling" to indicate that we want to be notified when the input change from 1 to 0.  You can also set it as "rising" or "both" to suit your needs.  You can also change the value in the file "active_low" to reverse the order.  See the Sysfs document for details.

With the GPIO pin setup properly, we can use a Python script to wait for input using Linux epoll(7):

import sys
import os
import select
import time
import datetime

if len(sys.argv) < 2:
    print('Missing gpio')
    sys.exit(1)

fd = None
e = None
ignore = True
gpio = sys.argv[1]

try:
    fd = os.open("/sys/class/gpio/gpio%s/value" % gpio, os.O_RDONLY)
    e = select.epoll()
    e.register(fd, select.EPOLLIN | select.EPOLLET)

    while True:
        events = e.poll()
        if not ignore:
            for fd, event_type in events:
                print(datetime.datetime.now().isoformat() + " event_type " + str(event_type) + " detected on " + str(fd))
            break
        ignore = False

finally:
    if e is not None:
      e.close()
    if fd is not None:
        os.close(fd)


We register the GPIO pin with a epoll object.  Since we want to wait till the value change from 1 to 0, we used the flag select.EPOLLET to use edge-triggered instead of the default level-triggered mechanism.  Then the program enters an infinite loop to wait for the value change.

Note that the first trigger is ignored as epoll returns immediately on the first call.

Also, you can register multiple GPIO pins with the epoll object.  Check the (file descriptor, event type) tuple returned by poll() and you can handle the case differently.

The whole Python script will not return until the GPIO input changed from 1 to 0.  To use it to trigger a shutdown, create a shell script similar to the following to setup the GPIO pin and wait for the Python script to return. Run the shell script on every reboot using systemd.  For details, refer to the previous post.

#!/bin/sh

GPIO=42

echo $GPIO > /sys/class/gpio/export
echo in > /sys/class/gpio/gpio$GPIO/direction
echo falling > /sys/class/gpio/gpio$GPIO/edge

/usr/bin/python /root/scripts/pwrbtncheck/poll.py $GPIO
if [ $? = 0 ]
then
  echo "Shutdown button pressed"
  /usr/bin/sync; /usr/bin/sync; /usr/bin/shutdown -h now
fi


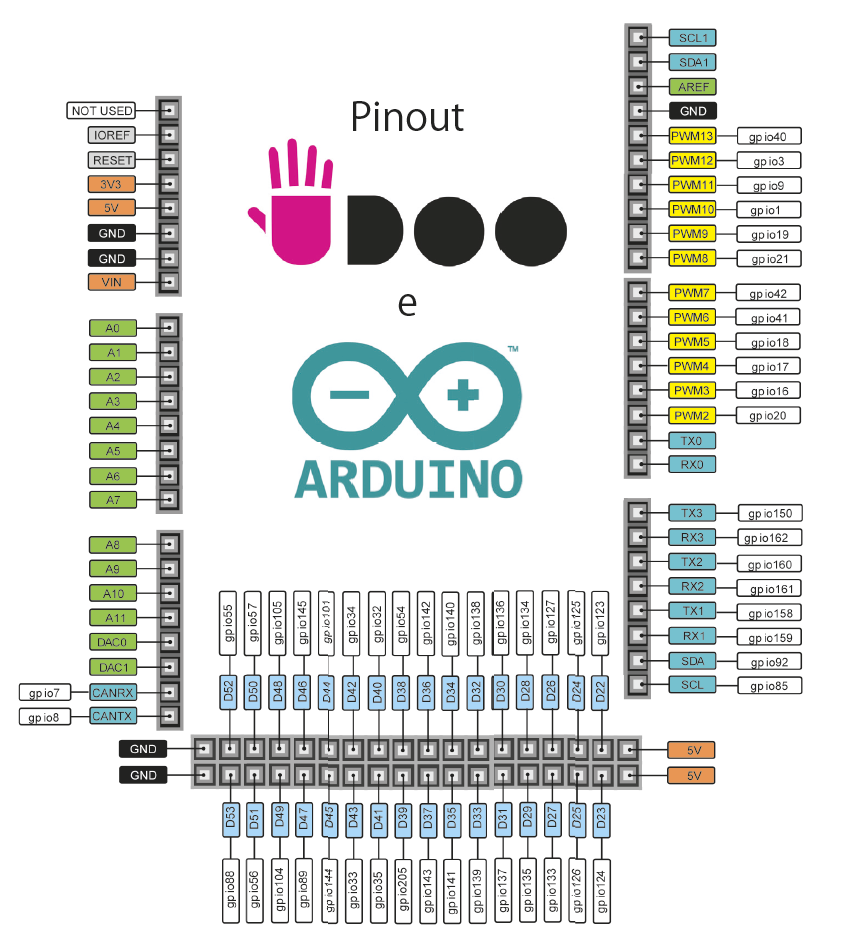
Yes. 42 is "The Answer to the Ultimate Question of Life, The Universe, and Everything" :)

Sunday, May 15, 2016

Adding shutdown button to UDOO

By default, the PWb button on UDOO is for waking up the board after a proper shutdown (use the reset button instead).  It cannot be used to shutdown Linux. But we could implement a shutdown button by using one of the GPIO pins.

First, the physical connection.  We will be connecting a GPIO pin to a push button.  In this example we will be using GPIO42, which is pin 7 on UDOO.  A 10K resistor is used as pull-up resistor.


Then we need to enable and monitor the GPIO pin in Linux. I am using Arch Linux but it should be similar for other flavor of Linux.  The script to do it:

#!/bin/sh

GPIO=42

echo $GPIO > /sys/class/gpio/export
echo in > /sys/class/gpio/gpio$GPIO/direction

while true; do
 value=`cat /sys/class/gpio/gpio$GPIO/value`
 if [ "$value" = "0" ]
 then
   echo "Shutdown button pressed"
   /usr/bin/sync; /usr/bin/sync; /usr/bin/shutdown -h now
 fi
 sleep 2
done


Some explanations of the script.  With kernel GPIO Sysfs, we need to specify which pin we will be using by writing the GPIO number (42 here) to /sys/class/gpio/export.  Since we will be reading from the pin, we also write "in" to the /sys/class/gpio/gpioXX/direction.

Then the script will enter an infinite loop to monitor if the GPIO value is 0 (i.e. push button is pressed).  If so, it will sync the disks and shutdown the system.

This polling method is less efficient than an event trigger approach. But that will be another exercise. :P

Save this script (e.g. /root/scripts/pwrbtncheck/pwrbtncheck.sh) and we will tell systemd to run it every time the board is booted.

Create a file named pwrbtncheck.service in /etc/systemd/system:

[Unit]
Description=Power button check

[Service]
ExecStart=/root/scripts/pwrbtncheck/pwrbtncheck.sh > /dev/null 2>&1 &

[Install]
WantedBy=multi-user.target


Then enable it by running this command:

sudo systemctl enable pwrbtncheck.service


Saturday, May 7, 2016

Setup FIDO Universal 2nd Factor (U2F) testing environment in 2 minutes

This is a quick start guide of setting up a node.js testing environment for U2F.  For details, please refer to the github page of u2f-sample-server.

What is u2f-sample-server?

It is a ready-to-use node.js package to test U2F tokens.  It is a demo to show how to register a U2F device and later authenticate it.  Messages exchanged between the server (relying party), the browser (client), and the U2F devices are shown.

To allow the use of the built-in U2F plugin of Chrome browser, the package contains self-signed certificate for SSL connection.

Note that although u2f-sample-server demonstrates the full register and authenticate workflow, it is not the proper way to do it in real-life application.  For example, the registered U2F devices should be associated with particular account and stored in database rather than session.


Steps


  • Make sure you have node.js environment setup properly on your machine
  • Clone the u2f-sample-server from github:
git clone https://github.com/kitsook/u2f-sample-server
  • Install dependencies
cd u2f-sample-server
npm install
  • Start the server
node index.js

  • In your Chrome / Chromium browser, navigate to https://localhost:4430/demo and start testing the U2F registration and authentication workflow. 

As of May 2016, there is bug in the node-u2flib-server module. If you encountered the following error when starting the server, you will need to comment out one line of code.  Please refer to the github page for details.


module.js:328
    throw err;
    ^

Error: Cannot find module './crypto/random_challenge_generator.js'
    at Function.Module._resolveFilename (module.js:326:15)
    at Function.Module._load (module.js:277:25)
    at Module.require (module.js:354:17)
    at require (internal/module.js:12:17)
......